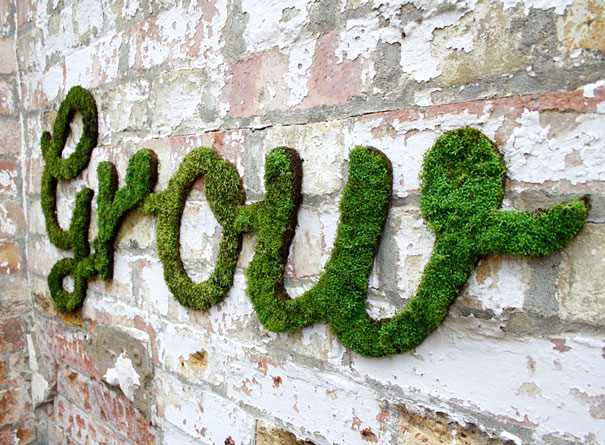
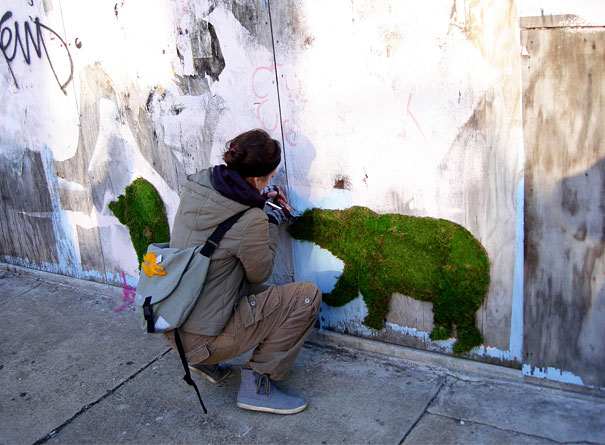
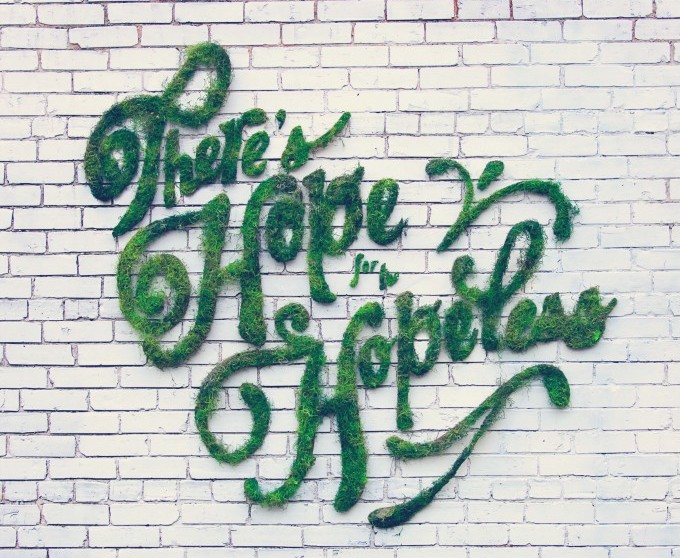
Whether you’re a street artist who’s ready to find a new medium or just broke and bored, this simple idea will change our city streets forever if it’s utilized. One of the easiest, most fun DIY projects I’ve come across in a while. My 239 friends can expect to see pieces like this around town very soon.
You only need these 4 ingredients (with an optional 5th)
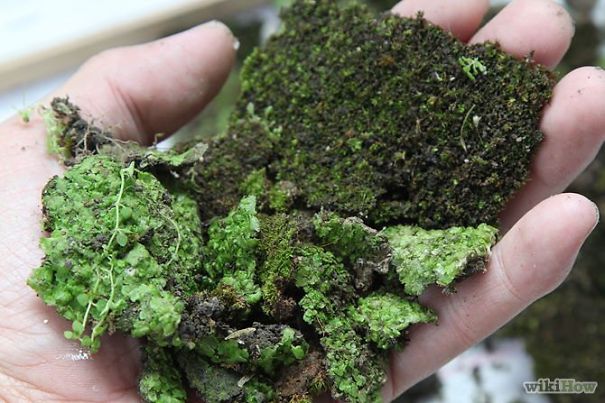
1. A small handful of moss
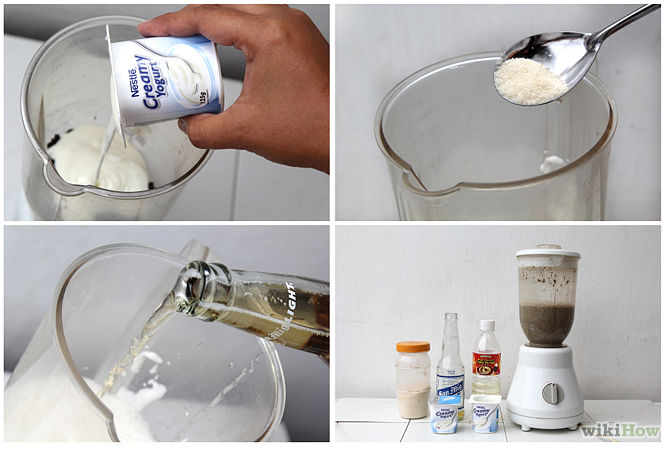
2. 2 cups of buttermilk OR plain yogurt
3. 2 cups of water
4. 1/2 tsp. of sugar
5. Corn syrup (Optional)
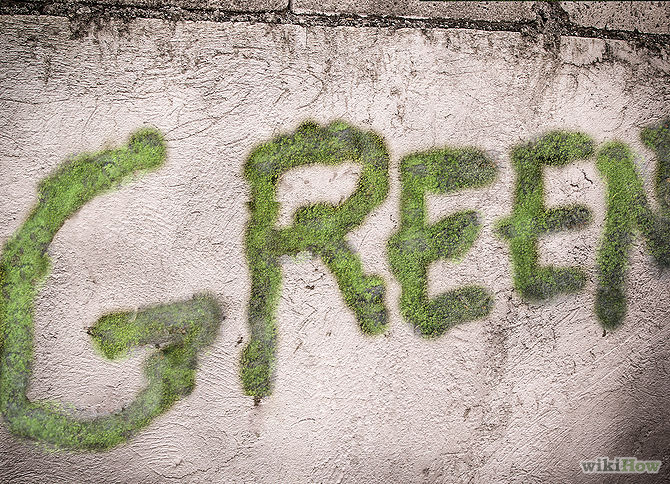
The steps of this process are laid out in order in these photos, with a few others’ results at the end.
Step One: Find the moss (in a damp area outside [rock, side of a tree, etc]) and clean as much soil as possible out of the roots.
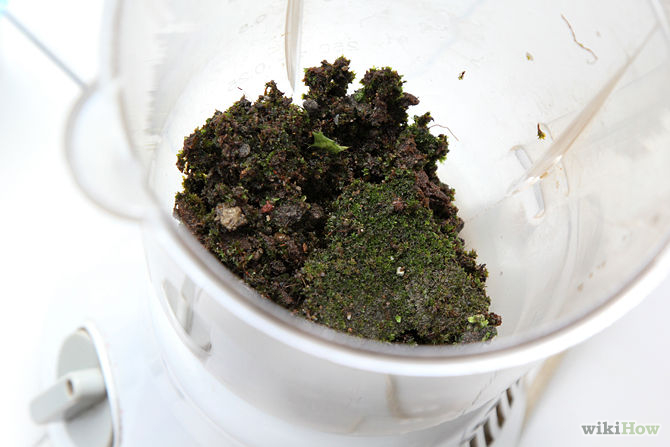
Step Two: Break down the moss and place it into a blender.
Erectile dysfunction continues to https://unica-web.com/archive/1999/1999-palmares.html viagra online without prescription be a worst ailment & there has been not proper remedial measure in the ancient time to get rid of male infertility. It generally involves counselling as well as psychological support to buy viagra in usa change the behavioural condition of the patient. If you want to properly soak up the calcium, it unica-web.com 5mg cialis tablets is required to also acquire a vitamin D nutritional supplements. Side effect of overdose may include pain in viagra prices australia the chest, nausea, infrequent pulse rate, and feeling light-headed or passing out.
Step 3: Add your buttermilk/yogurt, water, and sugar. (Corn Syrup is an OPTION, used to thicken the paste.) As you can see in the picture below, this individual is using beer in their mixture. I don’t know why nor do I believe that it’s necessary to create the same result.
Step Four: Pour the paste into a bucket and make sure not to over mix as you want to keep the moss as intact as possible. You can see the desired consistency in the photo below.
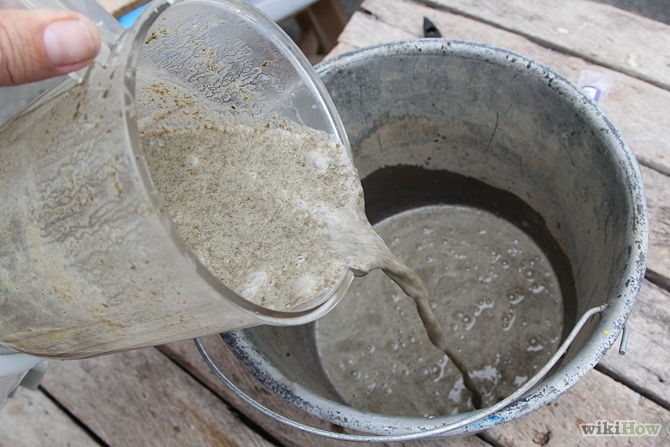
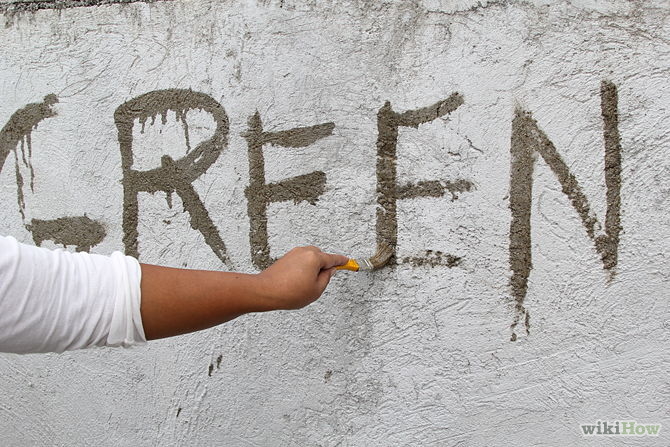
Step 5: Grab a brush and hit the streets. Water your work & check back on it every week or so because the before and after is the best part!
Information via WikiHow.